![]()
![]()
![]()
Small-ScaleDairy Farming Manual |
Volume 4 |
|
|
|
|
 |
|
Husbandry Unit 7.2: Technical Notes Note: Numbers in brackets refer to illustrations in the Extension Materials. Milking of buffaloes After calving the animals tend to produce milk for a certain time. In nature the female animals tend to lactate till the young one is well grown and could survive under harsh conditions. However, the animals have been developed to have a long and useful lactation. Most buffaloes after calving continue producing for 270-300 days. Thereafter, milking is not recommended and is uneconomical. On calving, buffaloes like cattle produce colostrum for up to 5 days. This is fed to young calves and in several countries is eaten by human beings also. Thereafter, normal production starts. Buffalo tend to reach peak milk production within 3-4 weeks. Depending on a number of conditions (feed, care and management, season), the peak is maintained for 60-120 days and then the animal enters into a declining phase till drying at 270-300 days. |
|
|
What should you know about milking?
 |
How do you prepare for milking? (9-29)
1 You should know how to prepare:
|
 |
How do you milk your cow? (30-42)
2 You should know how to:
|
 |
What do you do with your milk? (43-49)
3 You should know how to:
|
 |
How do you care for utensils? (50-57)
4 You should know how to:
|
What is important in milking your cow?
 |
5 To produce high quality milk: - milk your cow correctly - keep everything clean.
|
6
 |
 |
7 Incorrect milking and poor hygiene give you
low quality milk.
|
 |
8 If you are sick do not milk your cow.
You could pass your disease onto others. |
How do you prepare for milking?
 |
Your milking shed
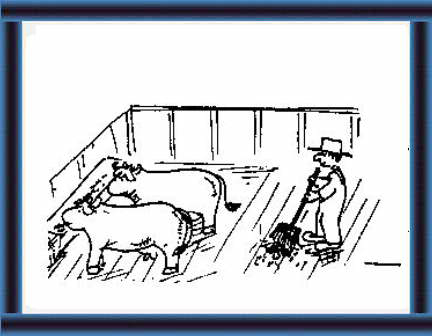
9 Prepare the milking shed:
|
 |
10
- wash the floor and walls with a disinfectant. |
 |
Your cow
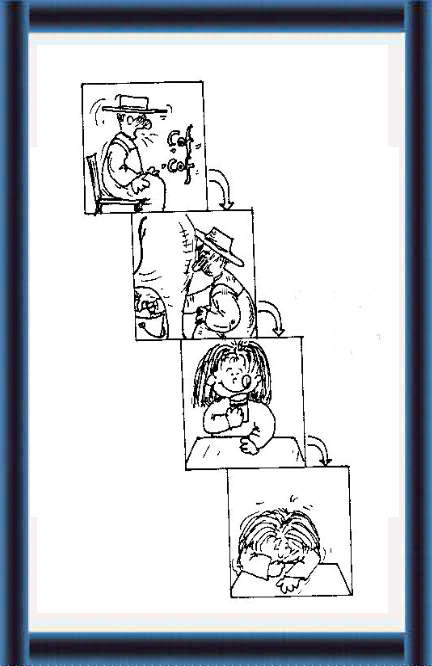
11 Do not scare your cows or distress them by shouting, beating or kicking. A scared or hurt dairy and especially buffalo cow will not let down milk. |
 |
12 A relaxed cow lets down milk easier.
|
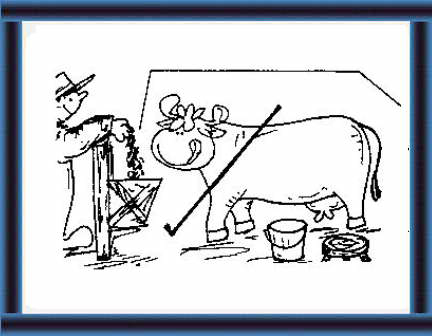 |
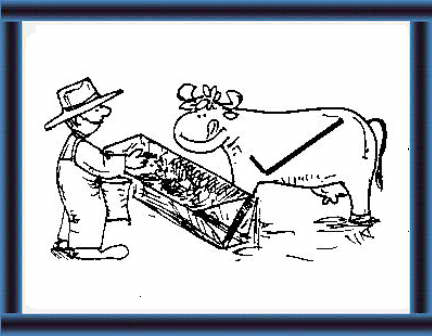
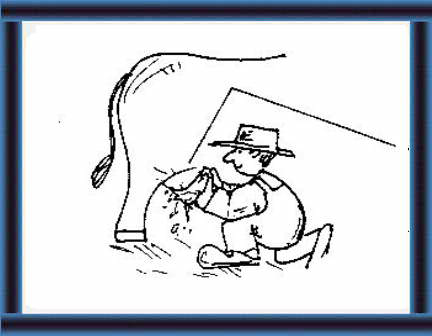
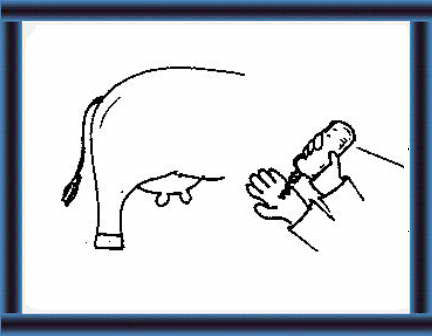
13 Give your cow a little concentrate while
you milk her.
This helps her to stay calm.
|
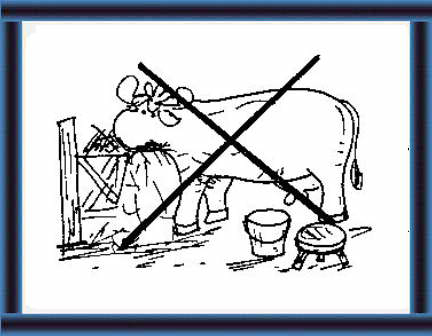 |
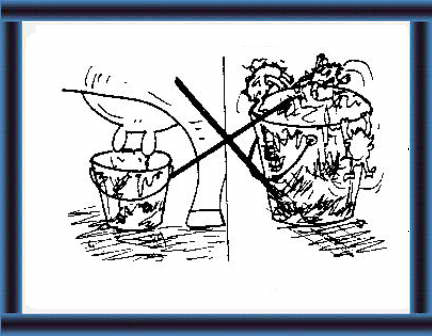
14 Do not feed hay or silage while milking.
The dust may contaminate the milk. |
 |
Your equipment
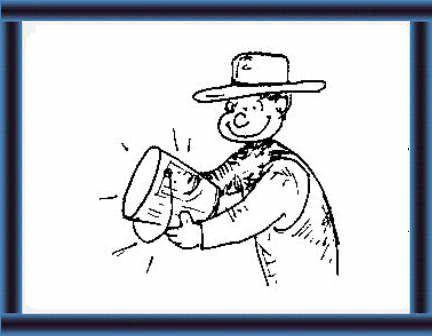
15 Make sure your equipment is clean. |
 |
16 Bacteria multiply quickly in dirty equipment. |
| Organize work well and make sure
everything is present at the milking shed before milking starts.
This has many benefits:
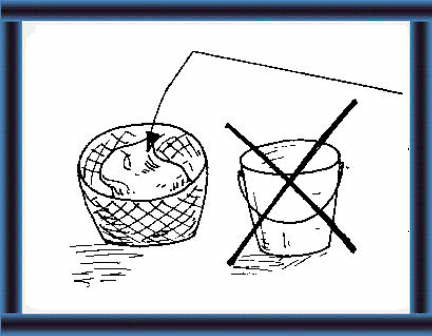
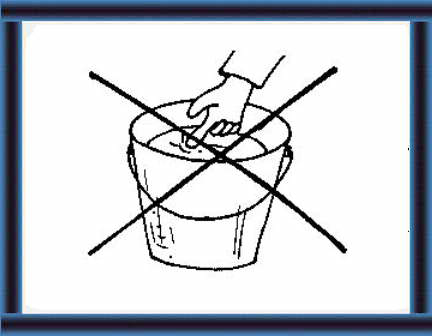
- The milker will not waste time searching for items after milking has started. Time saving. - Milking can be carried out immediately after washing the udder. Make maximum use of the cow's let-down reflexes, which are present 5-7 minutes after washing. Milking is then easy, takes a short time, and no residual milk remains in the udder. - Milk should be brought straight to the churn and strained after milking. Do not leave milk in an open pail exposed to dirt and dust. This affects the milk quality. One udder cloth for each cow greatly reduces the risk of spreading mastitis from one cow to another. Never put an udder cloth from a cows udder back in the bucket of water with the clean cloths. Use a basket or some other container for the dirty cloths. (17) Use the milking pail only for milk. If it is used for washing udder cloths, carrying concentrates or other purposes, the pail may well contaminate the milk during the next milking, with harmful particles left in the pail. (18) |
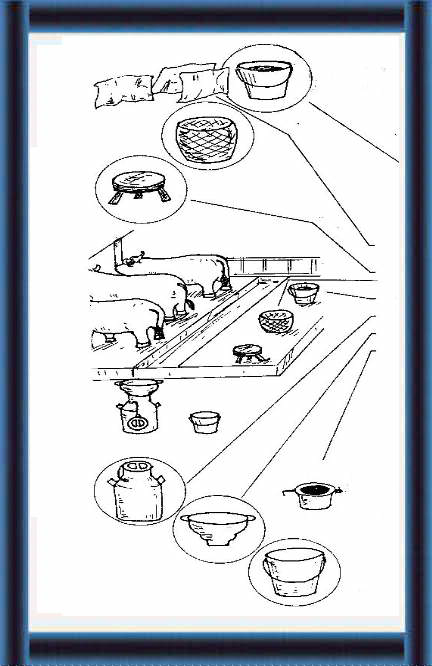 |
17 Make sure everything you need for the
milking is ready before you start milking.
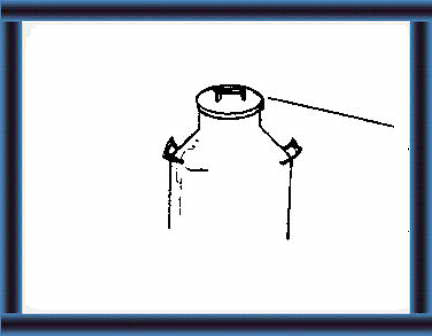
- One udder cloth for each cow in a bucket of clean water. - A stool for the milker. - A basket to throw the udder cloths in after use. - A milking pail which you use only for milk. - A churn to collect all the milk in. - A strainer with a clean straining cloth or filter. - A strip cup. 18 Always place the churn with the strainer outside the animal shed. This prevents dirt, urine, fodder or other
contamination from splashing in.
|
| Dirt and hair fall from the cow
into the milking pail during handmilking and cause contamination.
The strainer separates particles and hair from the milk, but bacteria and
dirt left in the milk, reduce the quality and taste of the milk.
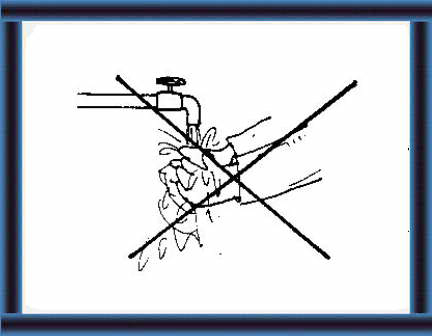
A quick brush-off from the cow's side and leg reduces this risk.
Do not wetwash because dirty water may run from the cow's body into the
milk. (19-20)
Wetwash the teats and lower udder with a clean cloth and clean water. If teats are not wetwashed, the milker's hands will rub off dirt during milking. (21) |
 |
Washing your cow
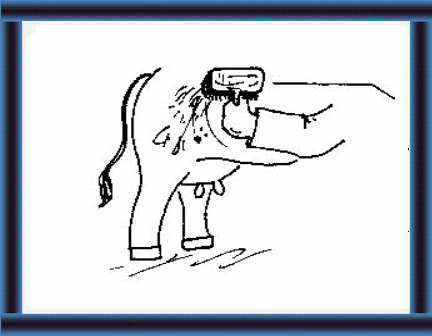
19 Brush dirt and loose hair from the side and back leg of the cow.
|
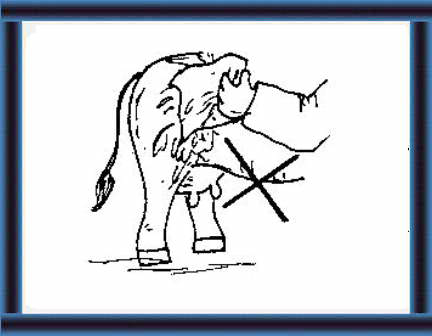 |
20 Do not wetwash. |
 |
21 Wetwash the teats and the lower udder. |
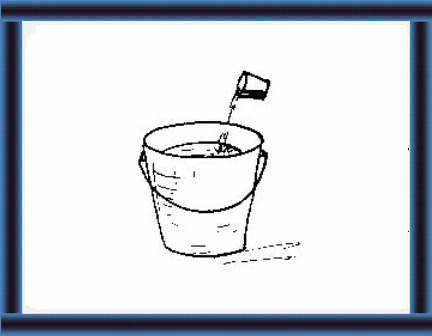 |
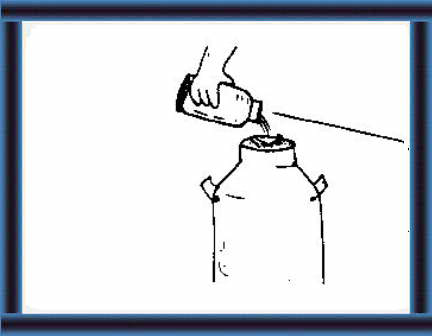
22 Add 10 cc of 12 % chlorine bleach to each l of water. |
| After washing the udder,
wring the cloth and wipe all water off the udder with the wringed cloth.
If water is left on the udder, dirty drops may fall into the milk during
milking. (23-24)
After washing and wiping off the udder, do not put the used cloth back in the bucket with the clean cloths. The dirty cloth will spread dirt and bacteria to the clean cloths, and diseases will spread from one cow to another. (25) |
 |
This disinfects the udder but does not taint the milk. |
 |
24 Wipe off the teats and udder with the same wringed cloth. |
 |
25 Throw the used udder cloth in a basket, not back in the bucket. |
 |
Massaging the udder
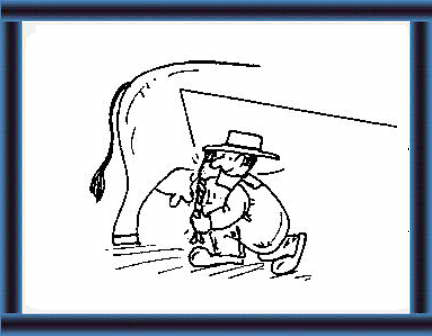
26 Massage the back part of the udder and then the front part and the teats. This helps the let down of milk. |
| Wash hands and make sure clothes
are clean before milking. (27-28)
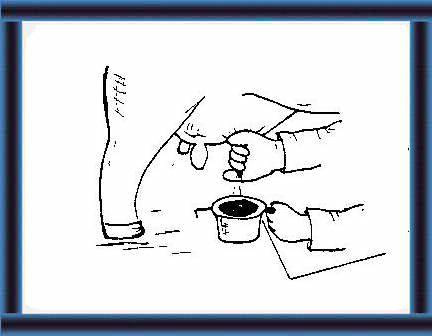
The first milk from the teats (the foremilk) usually contains a high number of bacteria. Do not mix the foremilk with the rest of the milk. Strip the foremilk in a cup, with a black plate inside (a stripcup). Examine the milk on the black plate, you can easily see lumps or abnormal colours caused by mastitis. (30-31) |
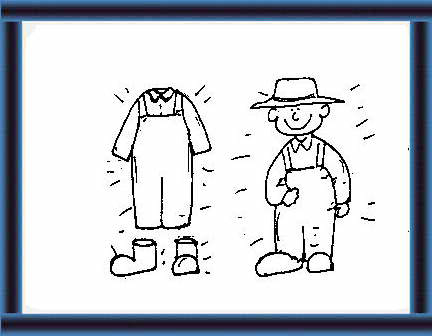 |
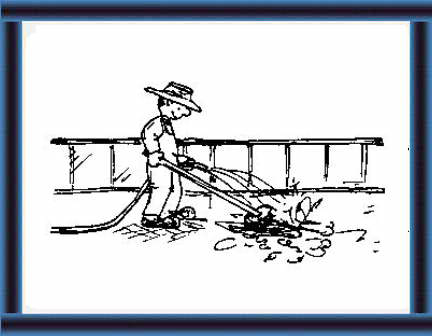
Preparing yourself 27 Make sure you and your clothes are clean. Finish all cleaning and sweep before milking. |
 |
28 Wash your hands before milking. |
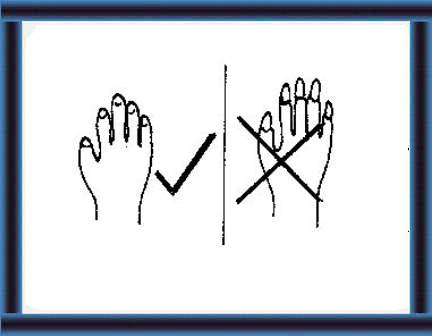 |
29 Make sure your fingernails
are short.
Long fingernails may hurt your cows. |
 |
How do you milk your cow?
Checking your milk
Milk out the first milk from all four teats into a stripcup. |
| Washing stimulates the cow's
udder and the cow produces a hormone called oxytocin. The blood stream
carries oxytocin from the brain, where it is produced, to the udder.
In the udder, oxytocin causes cells surrounding to contract. These cells expel the milk towards the teats, from where it can be milked out. This is the cow's reflex for let-down of milk. the production of oxytocin and subsequent active let-down of milk, lasts only 5-7 minutes. Therefore, start milking immediately after washing. Aim to empty the udder within 7 minutes. If milking takes longer it will be hard to empty the udder, and milk will remain in the udder. Do not interrupt milking before the udder is empty. The cow's let-down reflexes will cease by the time you start milking again, making the milking hard and unpleasant for both the cow and the milker. |
 |
31 Check the milk in the
stripcup to see
if it contains lumps or odd colours.
If the milk looks abnormal, the cow might have mastitis. |
 |
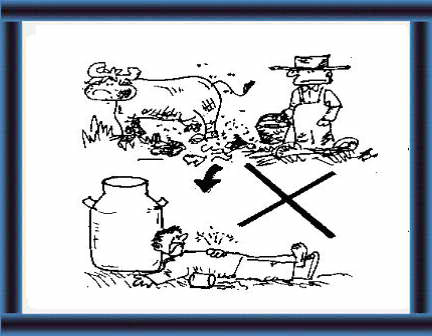
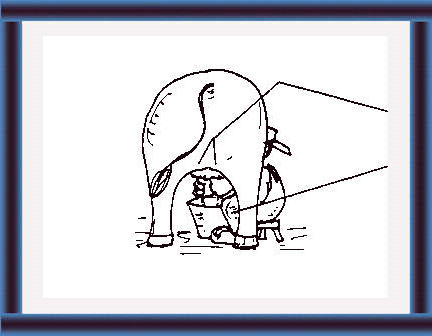
32 Never let the fresh milk squirt on
the ground.
This could pass on disease if your cow is sick. |
 |
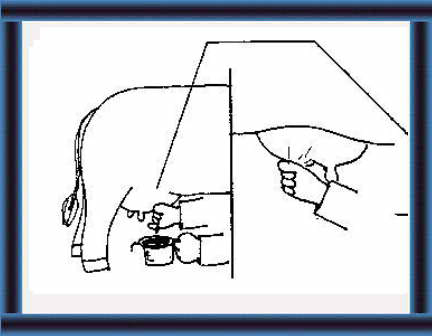
Your position
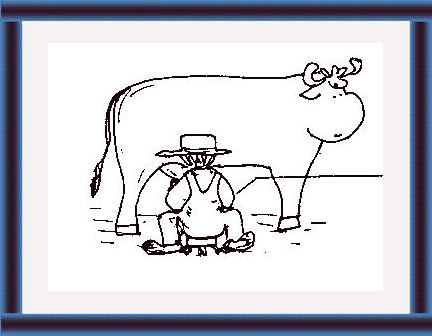
33 Sit down on a low stool beside the udder, with the milking pail between your knees. |
 |
34 Sit close to the cow.
Use both hands for milking. Your knee will stop the cow from kicking over the pail. Usually, you do not need to tie the tail
or the back legs of the cow.
|
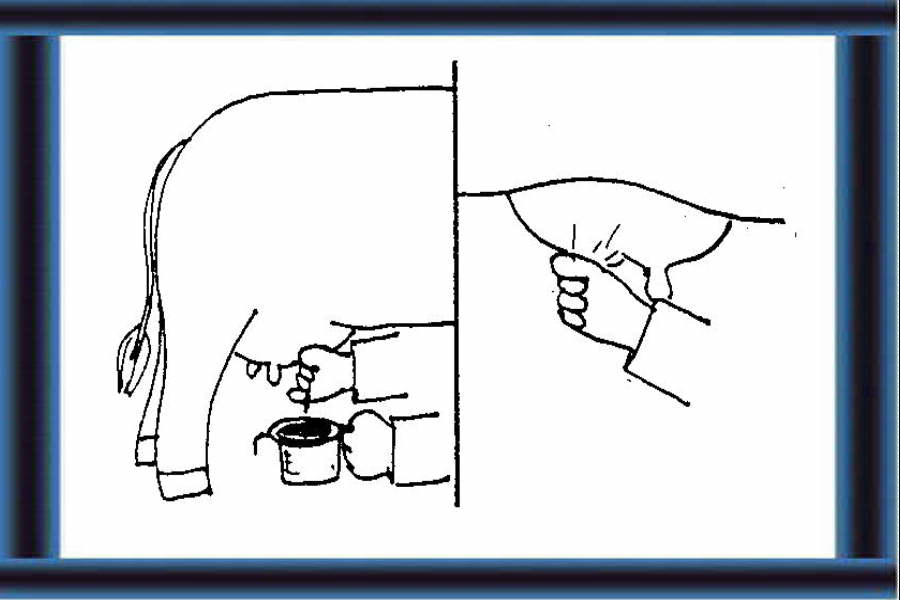
| A rhythmic squeezing of the teats
with the full hands maintains a strong let-down reflex. (32-33)
By repeating 32 and 33, the teat is refilled from the udder and the milk can be squeezed out again. The two hands of the milker alternate, when one hand is squeezing, the other one loosens the grip for refilling. Do not stripmilk or strongly pull the teats with two fingers. This strains the soft tissue inside the teats and irritations here very easily lead to infections - MASTITIS. (38) |
 |
Milking
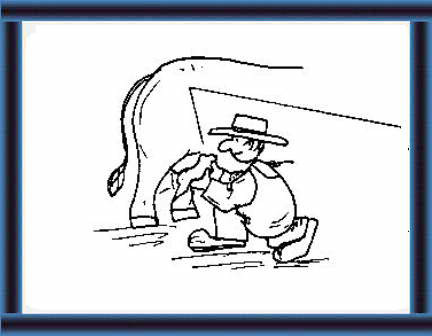
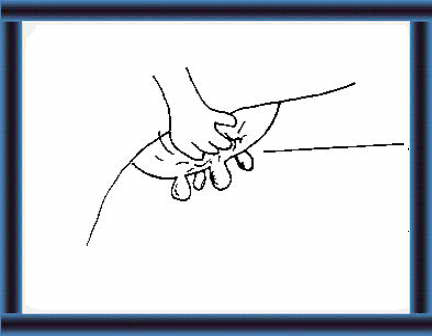
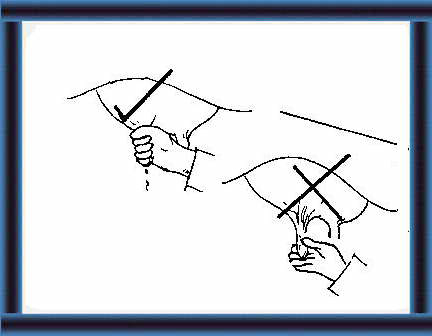
35 Squeeze milk out of the teats using your full hands around the teats. Do not try to pull the milk out. |
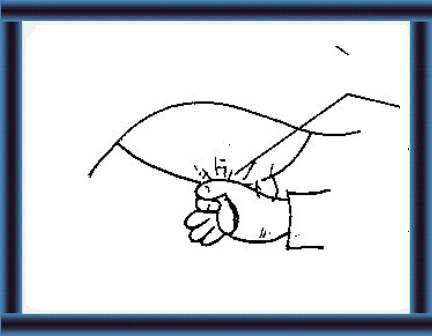 |
36 First, close the canal between the teat and the udder, using two fingers. |
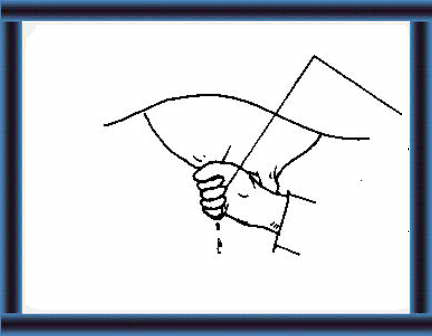 |
37 Squeeze the milk out by closing the rest of the fingers firmly round the teat. |
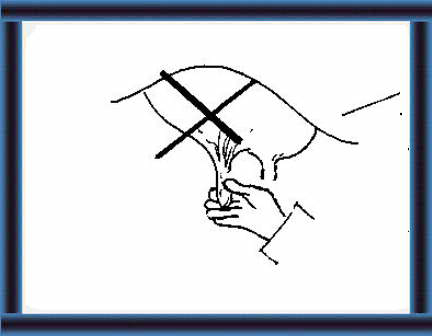 |
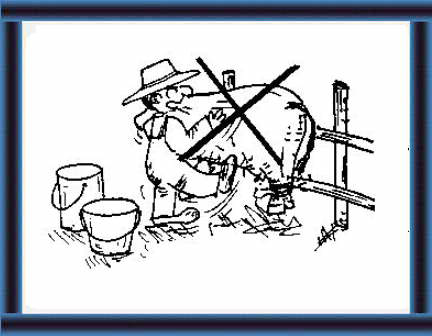
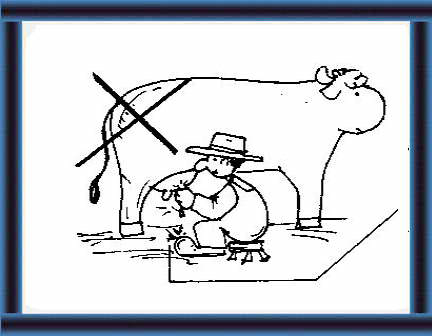
38 Do not pull the teats.
This can harm the inside of the teats, and they are easily infected. Strip milking can lead to mastitis.
|
| During milking, you must maintain
hygiene.
Do not wetmilk, which includes wetting hands with milk, water or spit, to ease the milking. It is very unhygienic, and may contaminate the milk severely. (39-41) If drymilking is difficult, use a cream with no smell or taste to moisten hands. (42) Keep cream clean in a closed container. Machine milking does not pose many difficulties. However, if not put to machine milking during the first lactation, it might cause several problems. Owing to teat shapes and intramammary pressure both teat cups and vacuum are slightly modified. |
 |
Moistening your hands
39 If you find it hard to milk with dry hands, you can use cream to moisten your hands. |
 |
40 Never dip your fingers in the milk to moisten your hands. |
 |
41 Never use spit to moisten your hands. |
 |
42 Never use water to moisten your hands during milking. |
| Milk easily takes taste
from the environment. If milk is left standing in an open bucket,
dirt and dust particles can fall in and it can absorb smells or tastes
from fodder, manure, pesti-cides or other substances in the environment.
Make sure to bring the milk to the churn and strain it immediately after
milking. Keep the churn in a well ventilated place out of the direct
sun.
There are always bacteria in milk. In warm milk, the bacteria multiply rapidly, and will produce acids or other products which make the milk go bad. In cold milk, there are few bacteria. Cool fresh milk quickly after milking to prevent spoilage and resulting low prices. Immediately after milking bring the milk to the collec-tion centre where it is cooled down to a temperature (3-1C) where bacteria do very little damage to milk quality. (43-47) |
page 132
 |
What do you do with your milk?
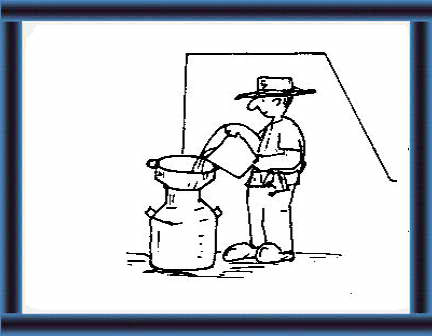
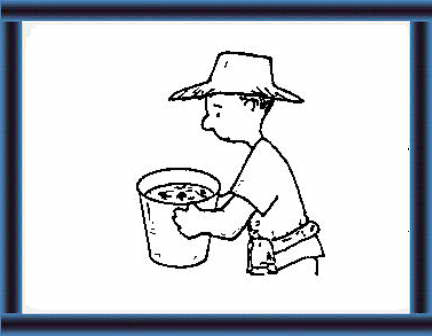
43 When your cow is empty, bring the milk to the churn and strain it with a clean filter. |
 |
44 If he milk contains dirt, find out what
it is:
- hair? - skin? - faeces? - insects? Find out where it comes from and keep it out of the milk. |
 |
45 Keep lids on milk buckets. |
 |
46 Handle your milk gently. |
 |
47 Rough handling causes fats to oxidise
or split up.
This leads to tallowy or rancid tastes in your milk. |
 |
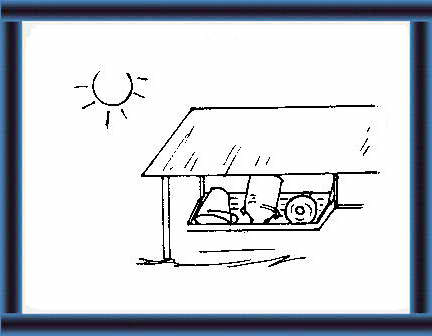
48 Keep your milk in the shade. |
 |
49 After milking, take the milk to the collection
centre as quickly as you can.
Remember to protect your milk from the sun during transport. |
| Most bacteria in milk come from
milking utensils which are not cleaned properly.
Milk residues on utensils provide good living conditions for bacteria, which contaminate the fresh milk during the next milk-ing. To produce good quality milk with a low number of bacteria, wash all milking utensils thoroughly and follow routines: - Rinse all milking utensils in cold water. This removes all loose particles and rinses out all water-soluble parts of the milk (i.e. protein). If you rinse immediately after milking, you clean out over 90% of all milk residue. If the milk residues dry on the utensils, it is much harder to wash them clean. - Wash the utensils in hot water with a recommended dairy detergent using a brush. High temperatures help milk fats dissolve and help cleaning in general. Detergents soften the water, prevent milkstone forming and keep dirt in solu-tion so that it does not attach to the surfaces. - After washing with detergent, rinse the utensils thoroughly in clean water again. - After washing, disinfect the utensils, by dipping them in a solution of disinfectant and water. Leave the utensils to dry after dipping in disinfectant solution. If local water is clean, rinse the utensils in clean water just before next milking. |
page 135
 |
How do you care for utensils? |
 |
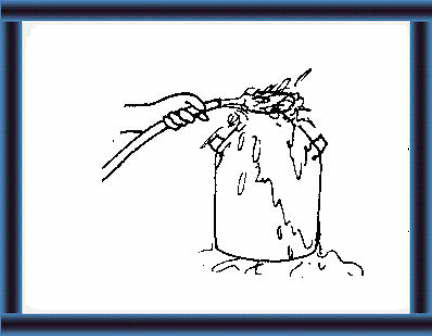
51 Wash the milking utensils in hot
water with detergent.
Use a handbrush to scrub clean. After washing with detergent rinse with
plenty of clean water again.
|
 |
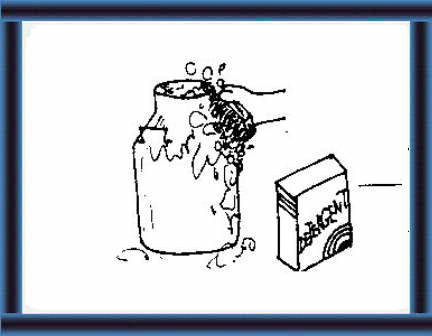
52 Mix disinfectant with water, and rinse all the milking utensils in the solution. |
|
53 Always follow the instructions and keep chemicals in a safe place. |
|
Remember
54 Wash and disinfect all stripcups, udder cloths and baskets. |
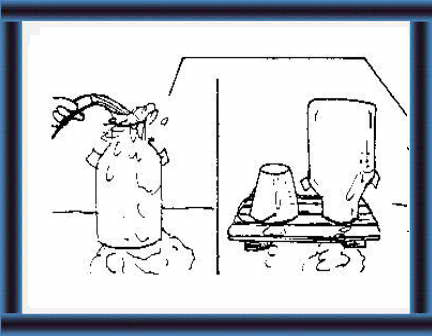
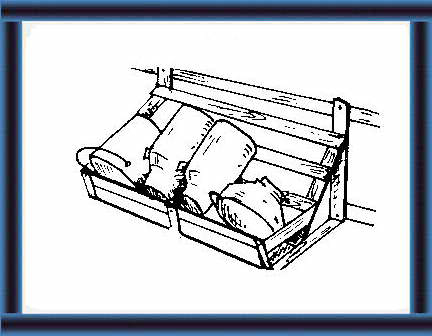
| Leave milking utensils
to dry on racks in a well-ventilated, clean and tidy place. Racks
should:
- allow water to drain out from buckets and churns - allow air to circulate so that the insides dry quickly - be made in any available material, which is easy to clean. Bacteria do not live on a clean, disinfected and dry surface, but if the insides remain wet, bacteria infest the utensils, and again reduce milk quality. Leave dry utensils on the racks. Fix racks in an area with little activity, dirt and dust or in a storeroom, which is clean, well ventilated, and contains no chemicals like pesticides. (55-57) |
 |
Storing and drying
55 When you wash the milking utensils dry them in a clean and tidy place. You should dry utensils in fresh air, preferably in sunlight. |
 |
56 |
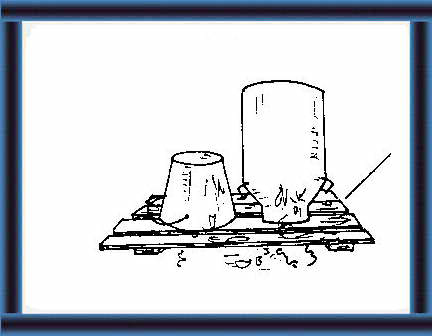 |
57 Make drying racks for milk utensils from suitable materials. |
 |
58 |
|
page 140
![]()
![]()
![]()