![]()
![]()
![]()
Small-ScaleDairy Farming Manual |
Volume 4 |
|
|
|
|
 |
|
|
What should you know about calving?
 |
How do you prepare for calving? (5-20)
1 You should know how to:
|
 |
What are the signs of calving? (21-27)
2 You should know:
|
 |
What do you see and do during calving? (28-45)
3 You should know:
|
 |
What do you do after calving? (46-68)
4 You should know how to care for:
|
page 163
|
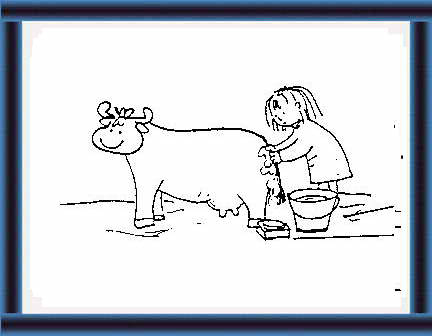
Husbandry Unit 8: Technical Notes Note: Numbers in brackets refer to illustrations in the Extension Materials. Preparation before calving Calculate the approximate calving date from the A.I./mating date. Pregnancy in cows lasts 274 -291 days. (5-6) Pregnancy in buffaloes lasts 308 - 343 days. Riverine buffalo usually have a shorter pregnancy than Swamp buffalo. |
page 165
How do you prepare for calving?
 |
5 You know that your dairy cow
gives birth
about 9 months after successful A.I. or natural breeding.
Your dairy buffalo gives birth after about 10 months. |
 |
6 Consult your breeding calendar and your
extension worker.
The length of pregnancy depends on:
|
 |
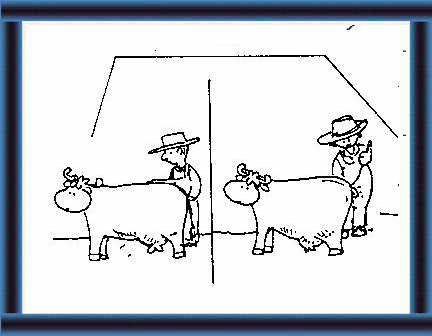
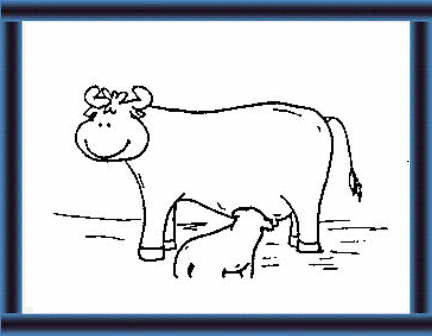
7 Your calf grows slowly at first and is about this size at 7 months (about one third of birth weight). |
 |
8 This is your calf just before birth.
This is the correct position - legs forward with head on the legs for easy birth. |
page 166
 |
Drying off |
 |
Rations |
 |
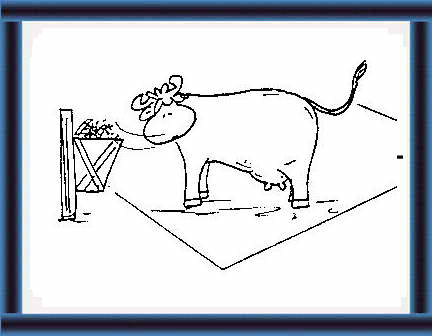
11 If your cow is in good condition give
daily:
- clean water (freely) - good quality grass (freely) - enough concentrates and minerals. |
 |
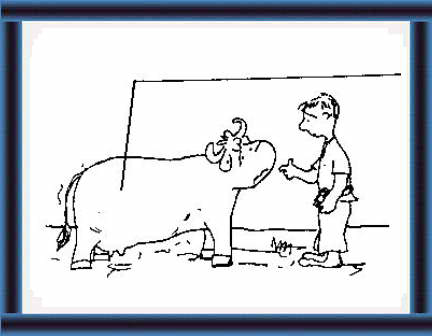
12 If your cow is in poor condition, consult your extension worker about feeding. |
page 167
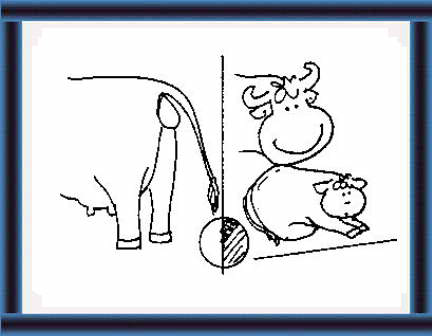
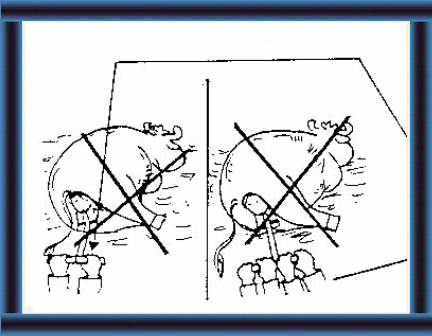
| Prepare the calving site. Always separate the calving site from the rest of the herd. Use a protected outside area or a calving box. Make the calving box at least 180 cm x 180 cm. Clean and disinfect it before use. Provide sufficient bedding where possible. (15-18) |
page 168
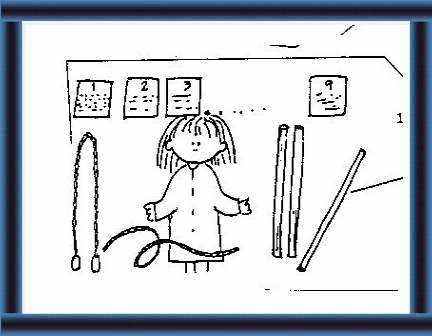 |
14
- a 2 m strong, clean rope 1 cm thick (or an obstetrical chain) - a 1 m strong, clean stick. |
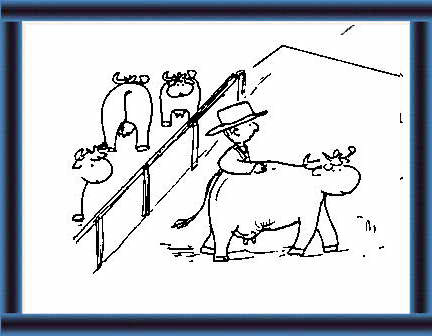 |
Calving site
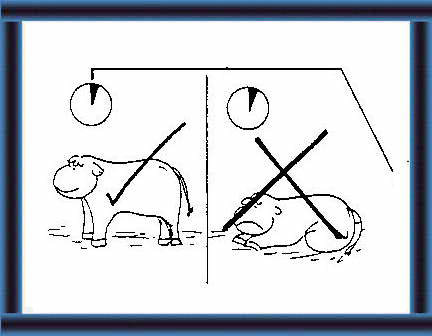
15 Always separate your
cow from the other cows just before calving.
|
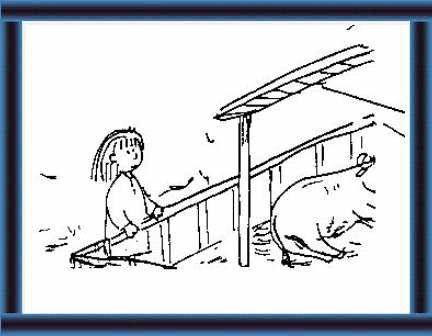 |
16 If outside, the site should be:
- dry - fenced - roofed, e.g. in rainy weather or places with no shade. |
page 169
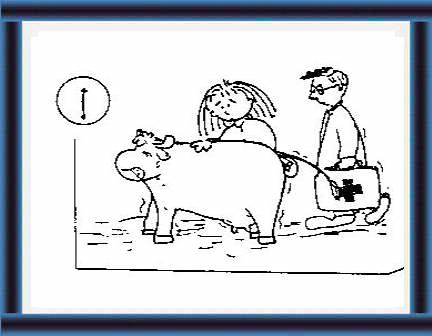
| Move dairy cows to the calving site at 270 days pregnancy (about 310 days for dairy buffalo). (19) |
page 170
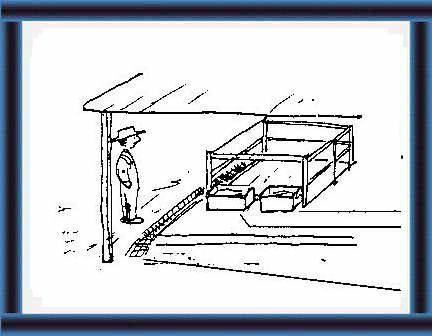 |
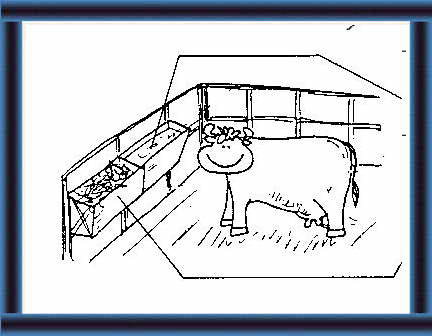
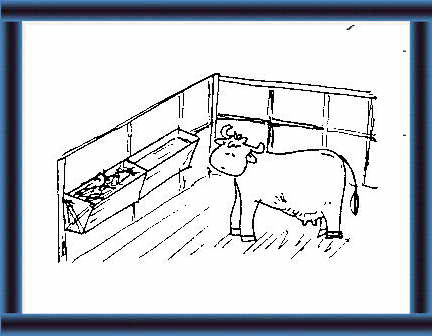
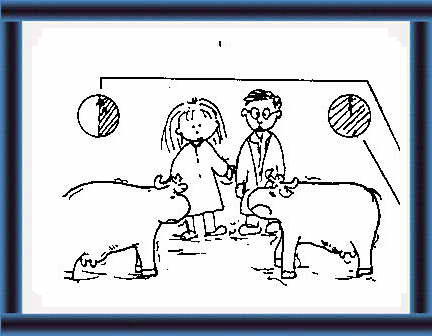
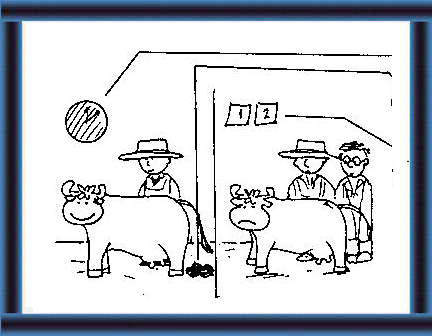
17 If inside the barn, prepare a 1.8 x
1.8 m calving box outside of which are:
- gutter - feeder - waterer. |
 |
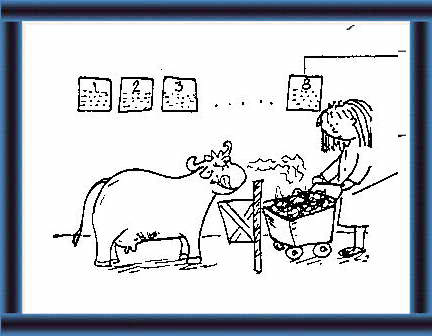
18 Before moving your cow to the box:
- clean everything - disinfect everything - add plenty of straw bedding (if available) - add sand or sawdust if the floor is slippery. |
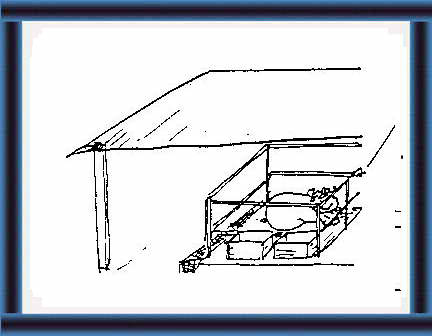 |
19 Move your dairy cow
to the box about 1 week before calving - about 270 days of pregnancy
(310 days for dairy buffalo).
Note: Consult your breeding calendar or extension worker. |
 |
Washing
20 Wash your cow with soap and water daily to prepare for calving. |
page 171
| Signs of
approaching calving
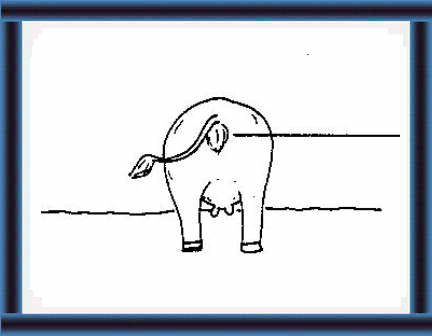
The most important signs of approaching calving: - The udder grows quickly in the
last weeks of pregnancy and begins secreting close to calving; (21)
|
page 172
 |
What are the signs of calving?
1-2 weeks before calving
|
 |
Near to calving
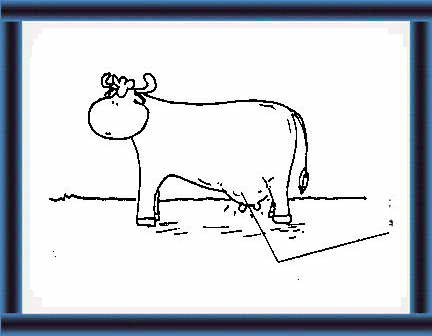
22 The vulva swells and begins to discharge mucus. |
 |
1-3 days before calving
23 The area on each side of the tail relaxes. You can feel the looseness and see the curve - your cow is preparing for birth. |
 |
24 Your cow may:
- raise her tail - eat less. |
page 173
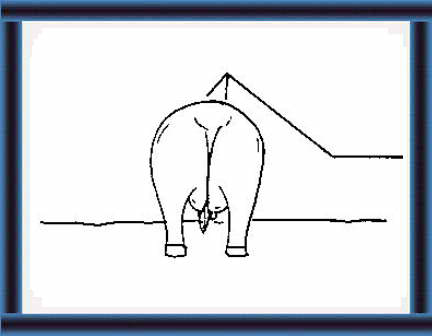
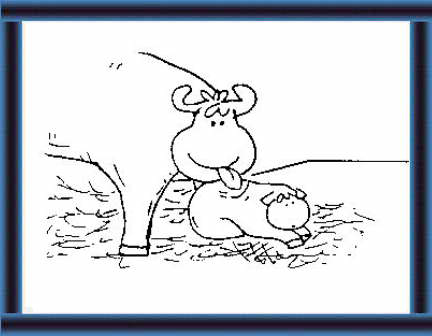
| At parturition, the cow becomes
restless and tries to separate if in a group. (25)
She also starts to strain intermittently. Duration of straining increases and intervals between straining shorten as the parturition process continues, with a short pause after the rupture of the water bag. (26) |
page 174
 |
25 Just before calving
Your cow becomes restless and tries to separate from the herd. |
 |
26 Your cow begins to strain
(labour) from time to time.
As calving progresses, she strains harder and more often. |
 |
27 Make sure:
- she has quiet
|
 |
What do you see and do during calving?
Normal birth |
page 175
|
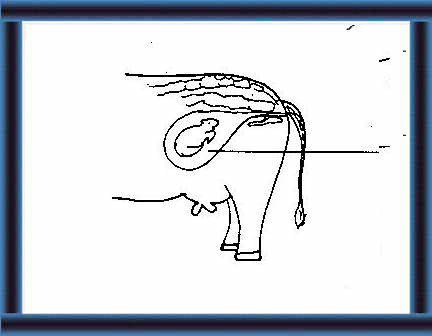
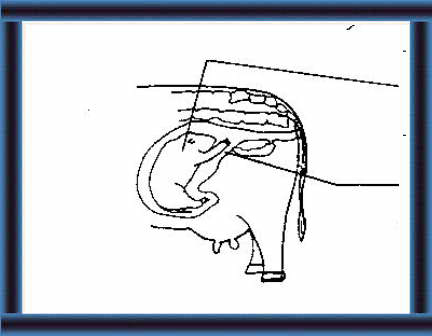
The most important thing to remember: OBSERVE THE COW - BUT LEAVE HER ALONE IF CALVING PROCEEDS NORMALLY First, the water bag appears in the vulva opening. It breaks by itself later, so DO NOT BREAK IT! (30) Normally, the head and two front legs then appear in the vulva opening. (31-32) |
page 176
 |
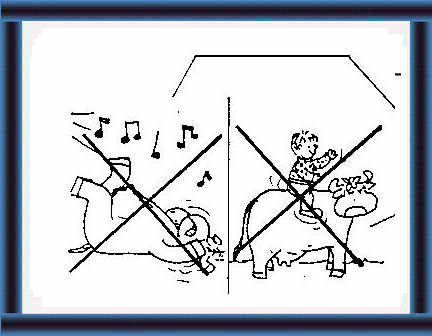
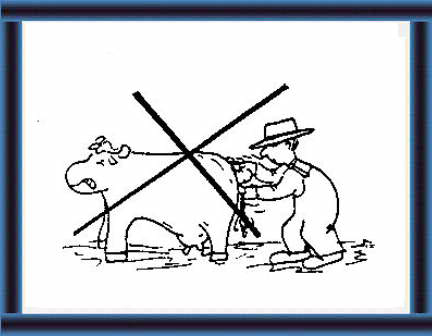
29 Never try to hurry your cow, you may hurt her and your calf. |
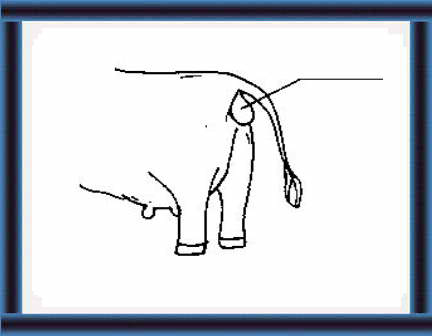 |
30 You see the water bag in the vulva
opening.
Never break the bag, it breaks by itself. The straining stops for a short time. |
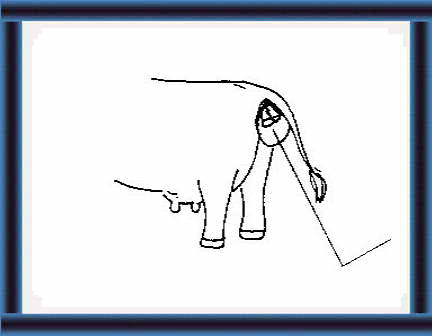 |
31 Then the straining begins again, you see the two front legs |
 |
32 .......and then the head. |
page 177
 |
33 Normally, your cow continues labour for 2-6 hours while the rest of your calf comes out. |
 |
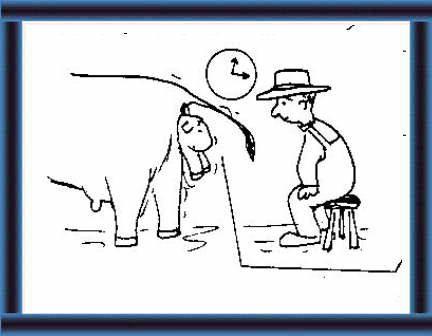
34 Call the vet if:
- your animal starts labour but you do not see the water bag: - for cows, in 6 hours
|
 |
35
- you see the water bag break but no part of your calf after 2-3 hours |
 |
36
- you see part of your calf but no more of the calf comes out after 30 minutes |
page 178
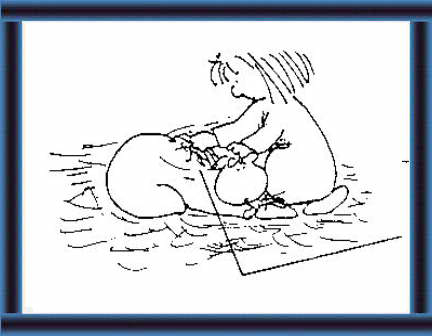
| In most cases the rest of the calf is then soon delivered. If, however, the birth stops at this point the farmer may assist in pulling out the calf. Clean the cow well (vulva surroundings) with water and soap. (39-40) |
page 179
 |
37 Call the vet if:
- you see the head and only one front leg. |
 |
38 Do not try to turn the calf or pull the other leg out, you may hurt your cow and your calf. |
 |
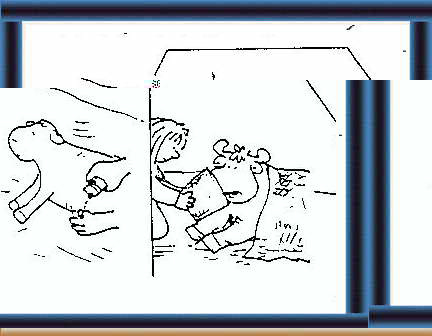
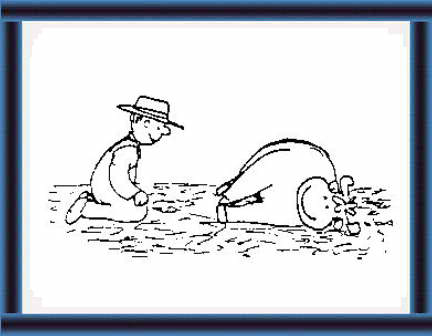
39 You may help your cow
if:
- the head, two front legs (and maybe the front part of the body) come out but no more of the calf comes out with labour. |
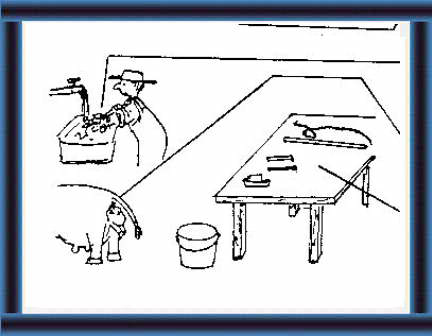 |
40 Clean and disinfect: - your hands and arms and make sure your finger nails are short - the area around the vulva - the rope or chains - the stick or torsion bars. |
page 180
| Place a clean rope or chain around
each leg of the calf at a point higher than the pastern joints. (41-42)
Pull by using a strong, clean stick as a torsion bar. (43) Pulling should be out and down. NEVER UP! Pull at the time the cow strains and not during the intervals between strainings. Not more than two persons should pull. If excess force is used, the uterus will also come out with the calf or it may tear. (44) |
page 181
 |
41 Carefully tie each end of the chain or rope above the hoof joints of the calf. |
 |
42 Put the stick or torsion bars through the loop of the rope or chain. |
 |
43 Pull:
- only when your cow strains - only towards your cows's udder - only with one other person. |
 |
44 Never pull:
- straight or upwards - with more than one other person. |
page 182
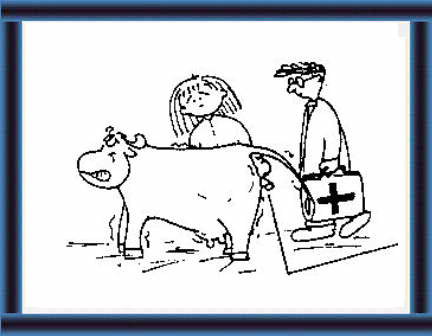
| If no progress is seen: call
the veterinarian. The veterinarian should also be called when: (45)
- the cow has shown restlessness/labour for 3-6 hours (heifer: 12 hours), but no water bag or calf appears; - the water bag breaks, but the calf does not appear after 2-3 hours; - part of the calf appears, but there is no progress in birth for about half an hour. |
page 183
 |
45 If pulling correctly does not help:
- your cow may have twins - the calf may be too big or deformed. You must call the vet. |
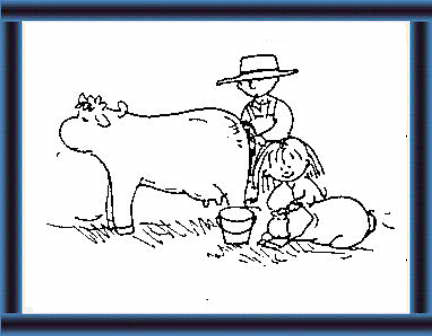 |
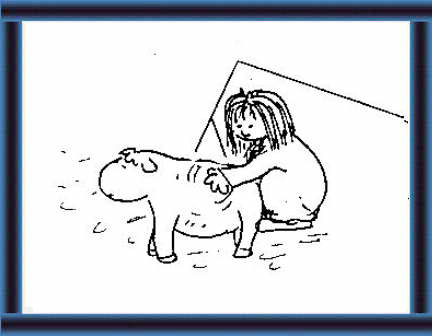
What do you do after calving?
46 After calving you should care for your calf and your cow. |
 |
Caring for your calf
Your calf receives blood from the placenta. |
 |
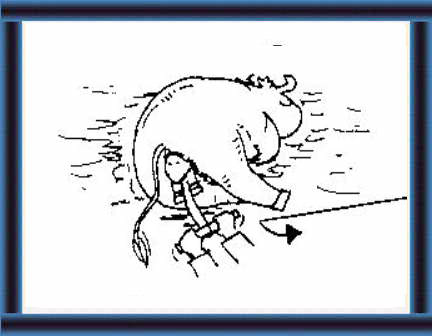
48 Remove liquid from
the lungs by:
- holding your calf by the hindlegs and swinging or shaking |
page 184
| After calving
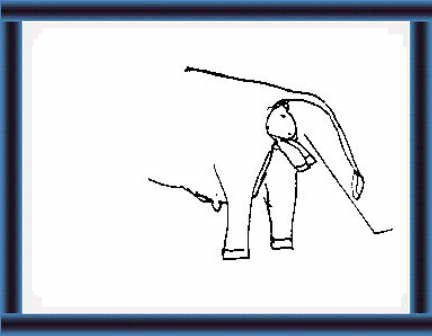
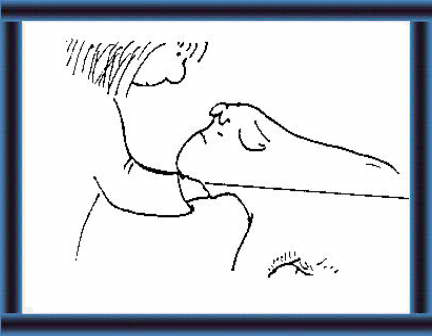
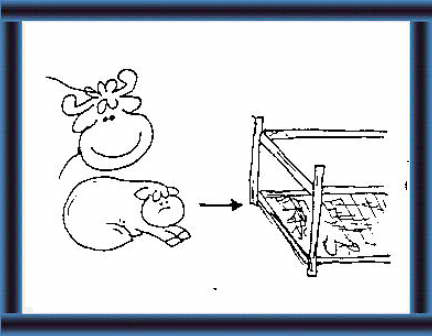
The calf: Remove mucus from the mouth and nostrils. If the birth was difficult, hang the calf, head down, over a divider or likewise to let fluid run out of the lungs. (49) Start missing respiration by tickling the nostrils with a straw, by rubbing the chest area thoroughly with some straw or grass or even a piece of rough cloth (52) or by using artificial respiration, alternately pressing and relaxing slowly the calf's shoulder and front leg. (53) |
page 185
 |
49
- hanging your calf over a board and rubbing firmly. Rub from the stomach to the chest to the throat. |
 |
50 Put your calf down.
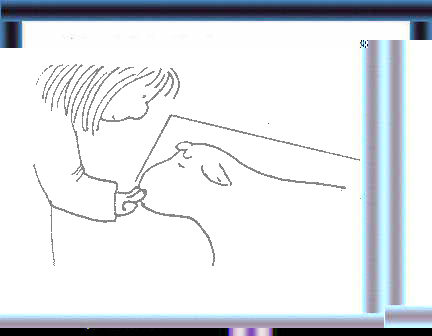
Put your hand in the back of your calf's mouth and wipe out the mucus. |
 |
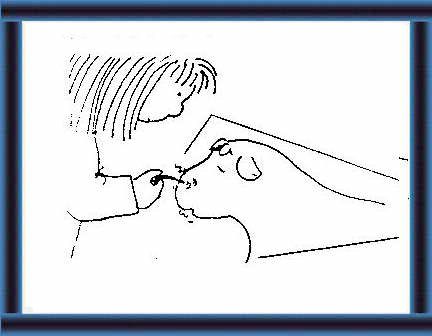
51 Use two fingers to milk (wipe) out mucus from your calf's nose. |
 |
52 If your calf is not breathing:
- tickle the nose with a clean straw - gently rub the chest with some straw or rough cloth |
page 186
| Dry the calf (or allow the cow to clean it by licking). (55-56) |
page 187
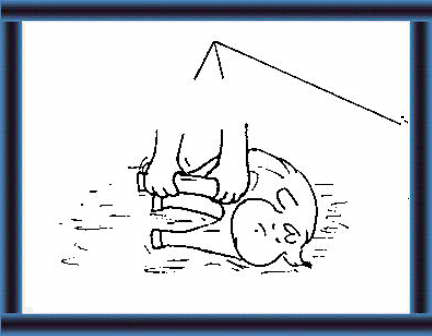 |
53
- hold your calf's front leg and shoulder and alternately press and relax |
 |
54
- slap your calf on the ribs or on the rump. |
 |
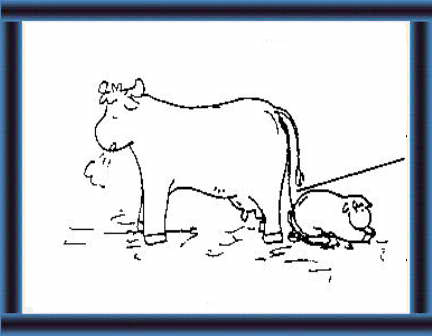
55 Give your calf fresh air and let your cow lick the calf dry as soon as possible. |
 |
56 If your cow cannot lick the calf, use straw to rub the calf dry. |
page 188
| Dip the navel cord in tincture
of iodine (do not cut the cord!). Apply an antiseptic dressing three
times a day during the first 3 days. This helps healing. (57)
Give at least 1 litre of colostrum within 2 hours after birth, and another 2 litres within 6 hours (or encourage the calf to drink colostrum as soon as possible, within the first hour). (59) If suckling is practised, encourage the calf to suckle at least four times during the first 24 hours (and remove surplus colostrum by hand milking). Suckling stimulates uterine activity and helps in expulsion of after birth. |
page 189
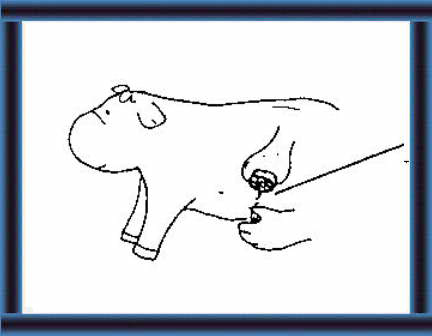 |
57 Dip the navel cord in
tincture of
iodine.
Do not cut the cord. Check daily for navel infections at least 2 weeks after calving. |
 |
58 Allow your calf to get colostrum
by
suckling.
(See H.9 Calf Rearing for more information on calf care) |
 |
59 Make sure your calf gets:
- at least 1 l of colostrum within 2 hours of birth - 2 more l of colostrum within 6 hours of birth. |
 |
60 Move your calf to a separate calf box. |
page 190
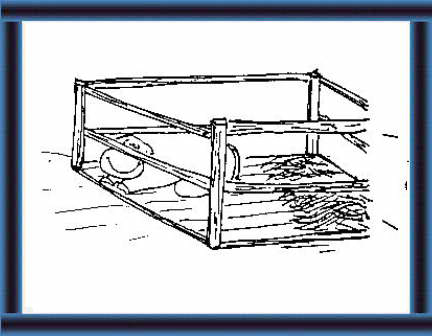
| Place the calf in a clean,
draught-free box with a lot of dry bedding. (62)
The cow: Make sure the cow stands up within an hour after calving. Keeping the calf in front may encourage her to get up. (64) |
page 191
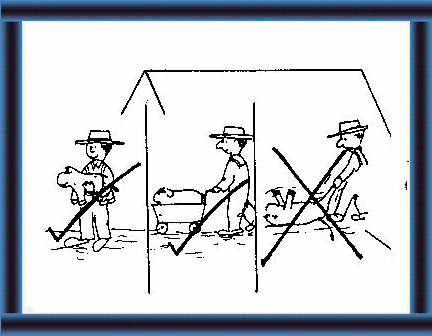 |
61 Carry your calf or use a wheel-barrow. |
 |
Do not drag your calf along the floor.
62 Make sure the calf box: - is clean - is dry - is free from draughts - has lots of dry bedding. |
 |
Caring for your cow
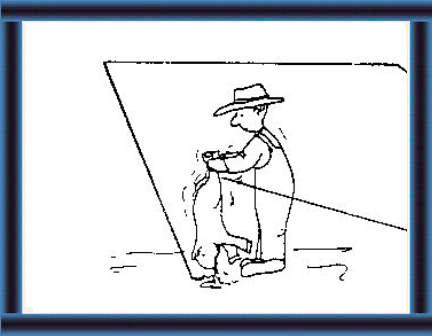
63 Keep your cow in a place which
is:
|
 |
64 Make your cow stand up within 1 hour after calving, even if she does not want to. |
page 192
| The cow should deliver the afterbirth within 24 hours after calving. If there is no afterbirth within 24 hours call a veterinar-ian for examination. (65) |
page 193
 |
65 Your cow should deliver the
placenta within 12 hours after calving.
If there is no placenta after 24 hours, call the vet. |
 |
66 A reddish discharge from
the vulva is normal for 2 weeks after calving.
After 2 weeks, the discharge should become clear and then stop. |
 |
67 For the 1st week after
calving, feed your cow mainly foods which are:
- light - bulky - slightly laxative e.g. bran and molasses with little silage or grain. |
 |
68 After the 1st week, slowly increase the amounts of grain and silage in your cow's diet. |
page 194
|
page 195
![]()
![]()
![]()