![]()
![]()
![]()
Material. Mild (low-carbon) steel, round or square section, about 12 mm thick.
Additional tools. No special tools are needed.
METHOD
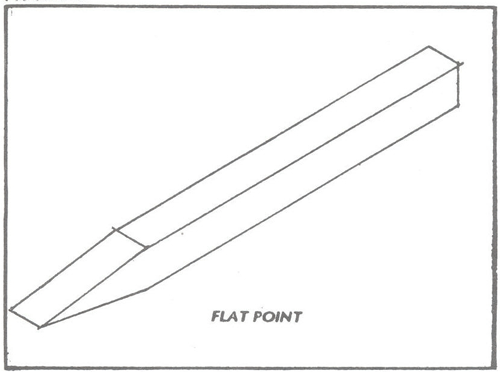
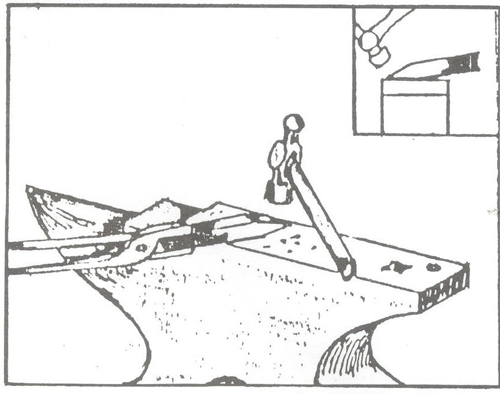
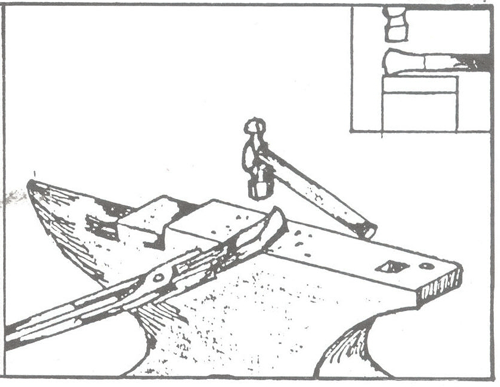
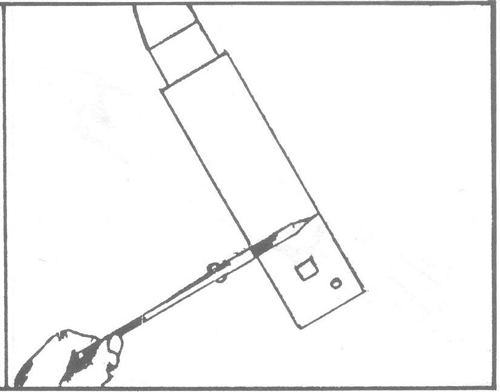
To forge a flat or chisel point (Fig. 25), metal is heated to near-welding heat to a length of about 50 mm, placed on the anvil (Fig. 26) and hammered near the end, occasionally repositioning (Fig. 27) to hammer the sides back to the original thickness of the metal. All points are first made as short as possible and then lengthened by subsequent hammering on the shoulders. The object of this practice is to produce a flat point with parallel sides and a flat square end. Bulging on the end can be corrected, as shown in Fig. 28.
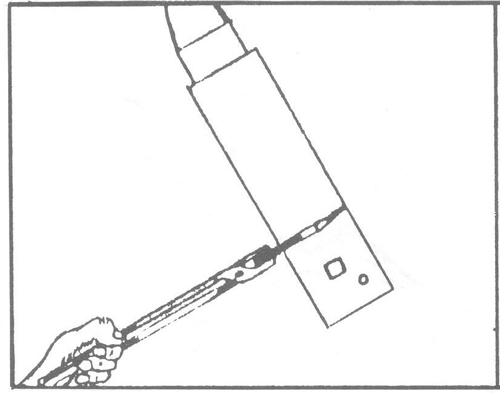
Having mastered the flat or chisel point which, with material up to 16 mm thick, should be completed in one heat, take similar-sized material and forge a square point. This is similar to the flat point, but a quarter turn of the tongs between hammer blows while maintaining the angles between anvil face and hammer will produce a square-sectioned point (Fig 29 and 30).
Next practise forging a square point into a round-sectioned point. Form a square point first, take off the corners and then round up the work by lightly hammering while rotating the work. All work should have a smooth finish with no tool marks evident in the finished job.
For a beginner, two heats for each point is acceptable. Care should be taken with additional heats to ensure that the thin part of the work is not overheated. Cooling the tip in water from time to time will control this problem.
When reducing sections by forging, remember that in all cases metal is reduced to a square section first, then additional working is used to give the final shape. Failure to follow this practice will produce cracking along the length of the workpiece.

![]()
![]()
![]()