Material. Carbon-tool steel, round section or hexagonal, or steel from motor-vehicle spring, 12 to 16 mm in diameter.
Additional tools. Hot set.
METHOD
Having mastered the making of points, this skill can now be used to make a cold chisel and centre punch. Motor-vehicle spring of round section is the least expensive source of steel suitable for this purpose.
As we are now dealing with steel of a higher carbon content, lower forging temperatures must be used. A bright red heat just verging on yellow is our guide, certainly no brighter.
Take a piece of steel about 120 mm long. This can be done by heating and cutting with a sharp hot set. Heat again along its length and carefully straighten, avoiding leaving hammer marks in the piece. Next, heat about half the length and flatten slightly, leaving two flat sides and two rounded edges (Fig. 31). Then repeat with the other half. Take a short heat on one end and forge an abrupt point (square section) with the corners removed, leaving a flat end (Fig. 32).
Next, take a short heat on the other end and forge a nicely tapered flat chisel point leaving the rounded edges to the sides (Fig. 33). Straighten and true up. Heat the whole job to a brignt red heat. Clean with a wire brush and allow to cool in air. This is called normalizing (see the section "Special operations").
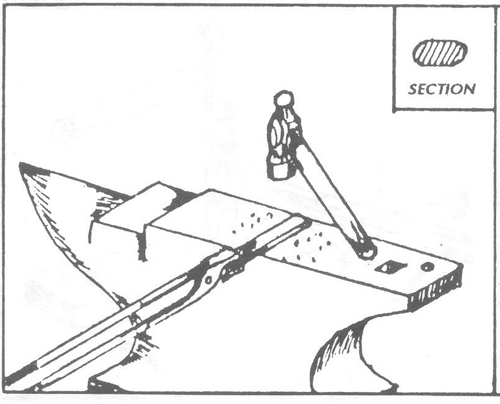
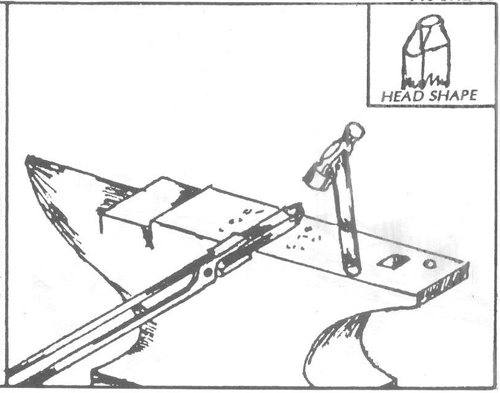
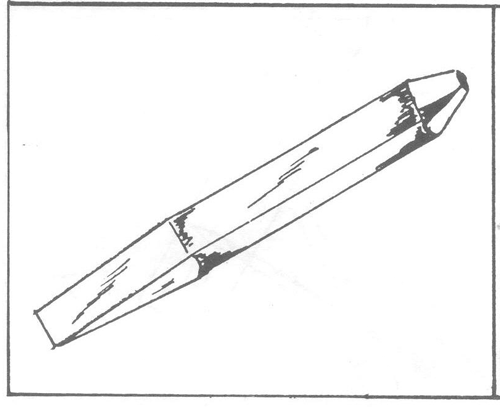
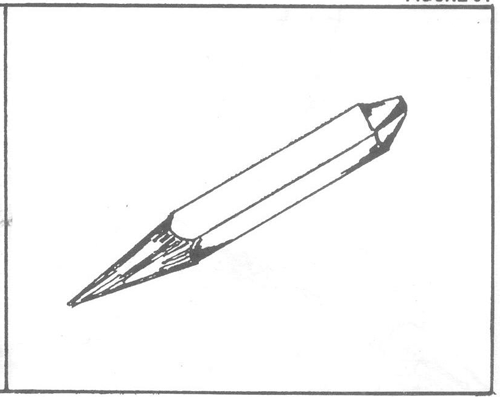
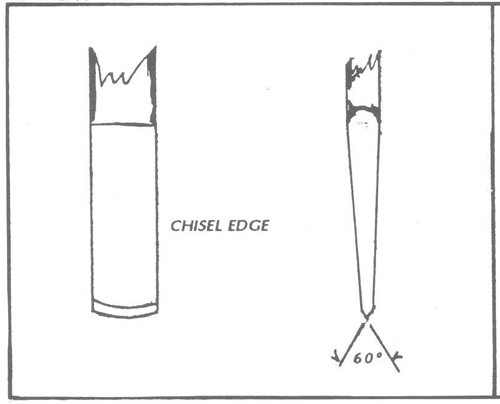
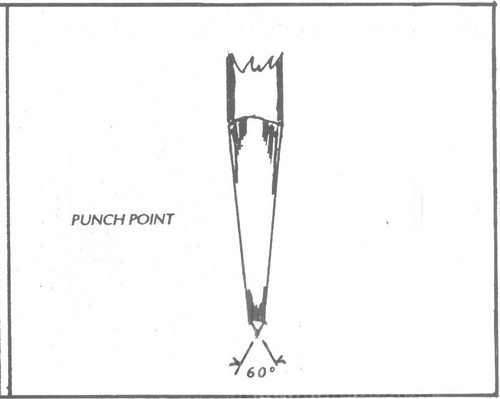
Take a second piece of steel about 90 mm long and repeat the above, but this time forge a round point on one end and, again, normalize (Fig. 34). When cool, the edge of the chisel and point of the punch can be filed or ground to the correct angles (Figs 35 and 36). Both chisel and punch are now ready for hardening and tempering to fit them for their purpose.
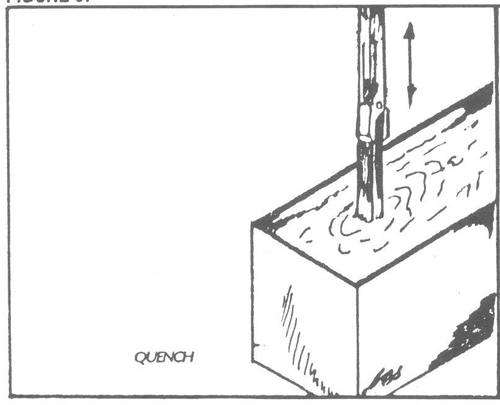
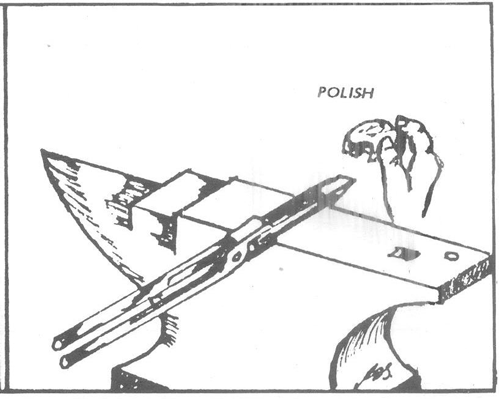
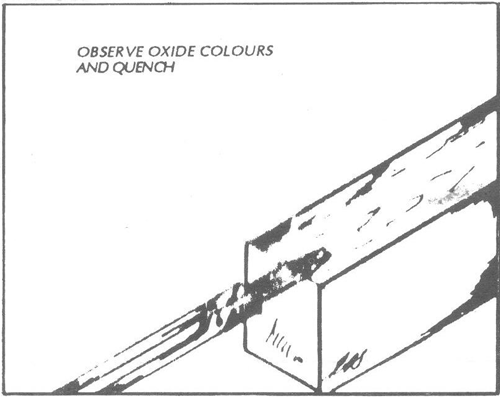
Hardening and tempering are carried out in the forge using one of two methods: "one heat" or "two heat". Using the one-heat method for the chisel, proceed as follows. Heat about 25 to 30 mm of the pointed end of the chisel to just above a dull red heat. Immerse the point in water for about half of the heated length, moving the tool up and down in the water a little to prevent a sudden change in structure. Remove from the water and quickly polish the cutting edge by rubbing with an old piece of grindstone or other abrasive. Hold in the light and observe the oxide colours forming at the cutting edge. With average spring steel, when a dark brown is seen, you should quickly quench it in water again (Figs 37,38 and 39). The tool should now be tested on a piece of scrap mild steel.
The punch can be hardened and tempered using the same technique as used for the chisel.
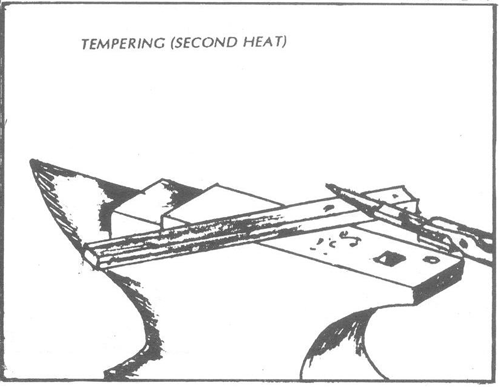
The two-heat method is a useful alternative. Heat about 20 mm of the punch, including the point, to just above dull red heat and quench the whole tool in water. Next, clean and polish the point of the punch. Heat a heavy piece of steel, about 25 mm square in section, to a bright red heat. Place the punch on to the heated steel with the point overhanging the heated part by about 15 mm (Fig. 40). Heat will be transferred to the punch and will cause oxide colours to form. Watch for the dark brown to appear and then quench the piece quickly. Test on a piece of mild steel.
This two-heat method is useful when tempering small workpieces such as scribers, drills and knife blades. Heat transfer can be controlled by moving the job about on the hot piece of metal. If steel with a higher carbon content than spring steel is used, it should be tempered at a blue colour. Some experimenting is called for by the beginner. If hardening and tempering need to be repeated on a job, the workpiece must again be normalized
