Material. Mild steel, 12 mm in diameter, 125 mm long.
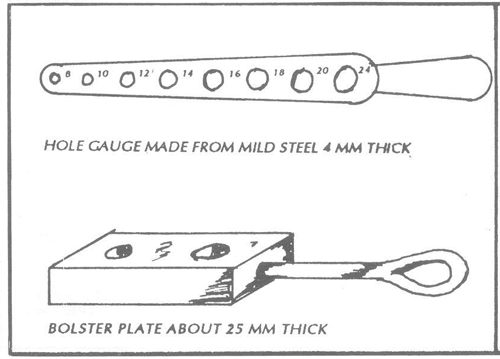
Additional tools. 12-mm top and bottom swages; set hammer; bolster plate; rough file or rasp; hole gauge (Fig. 65).
METHOD
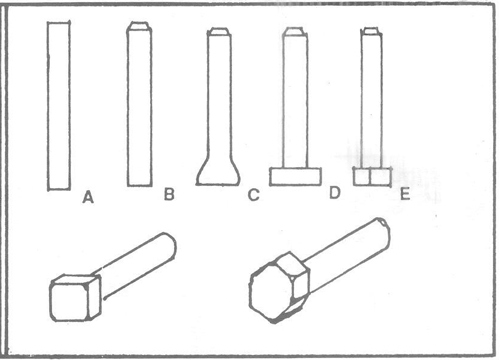
Bolts of all shapes (Fig. 66) can be forged by upsetting and by shaping the heads with hammers and simply made tools, such as bolster plates. Practice is gained here in upsetting and forging to accurate dimensions since these bolts must be a good fit in a standard spanner. Shank sizes must be correct for the cutting of screw threads with hand dies.
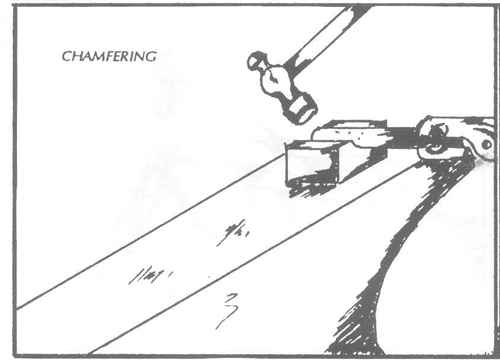
Place a 12-mm bottom swage in the tool hole of the anvil. Heat one end of the metal to a yellow heat, place in the swage and forge an abrupt chamfer with hammer blows at the angle shown in Fig. 67. Quick light blows while rotating the job will produce the desired result (Fig. 66B). This chamfer is to reduce the damage done to that end during the upsetting operation.
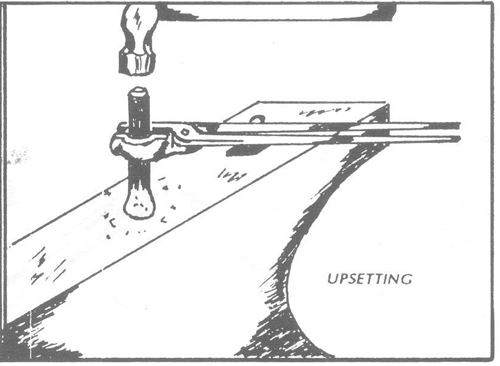
The opposite end is now brought to near-welding heat. Cool in water to leave only about 25 mm of the length hot. Place on the anvil with the cooled chamfered end uppermost. Tongs must hold the job securely in this position (Fig. 68). Quick firm blows are now applied to the chamfered end causing the heated end to increase in diameter (Fig. 66C). The job should be partly rotated during this hammering. Any bending of the work that occurs must be corrected as soon as it becomes obvious. Do not let the job become badly bent because it will be very difficult to correct (Fig. 69). When the job gets down to a red heat, it is time to raise its temperature. Heat must be restricted to the end by cooling.
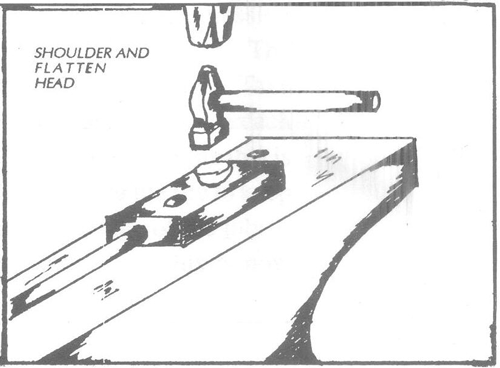
Continue upsetting until the end is about 20 mm in diameter. Next, correct any damage to the chamfered end and make sure that it will pass through the bolster plate easily. Place bolster plate so that the hole to be used is over the tool hole of the anvil. Heat the upset end again to a yellow heat, pass the chamfered end through the bolster plate and quickly apply firm hammer blows to the work, driving it into the bolster to form a shoulder and to increase the end diameter a little more. Finish with the set hammer held flat on the work (Fig. 70).
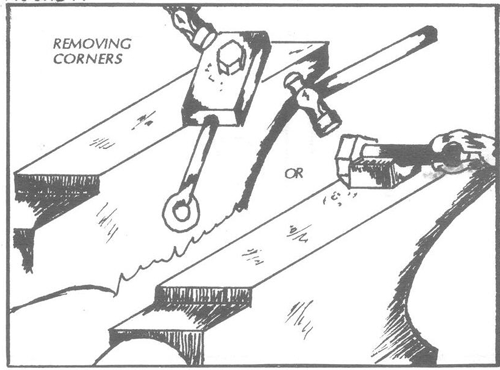
After the bolster-plate stage, the head should be about 8 to 9 mm thick. Do not make it thinner. Reheat the head and carefully forge to a square section using an 18- or 19-mm spanner as a gauge. Keep checking for squareness. The head may be flattened a little more in the bolster plate after forming the square and the corners of the head removed slightly to give a more finished appearance.
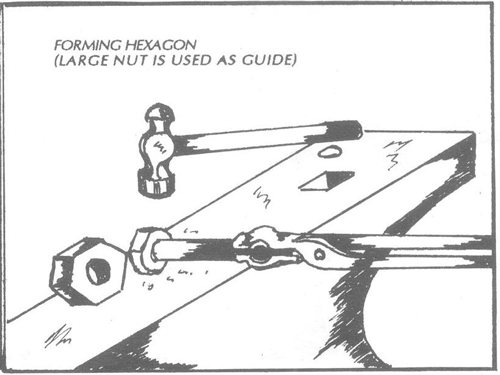
The same procedure is followed for a hexagonal bolt head except that the forging of the hexagon is more difficult. For early attempts it is a good idea to place a large nut of hexagonal shape on the anvil face to act as a guide (Fig. 72). Forge two small flats, then turn the job so that one of these flats is in line with one of the flats on the nut, then forge two more flats, line up one of these with the nut and forge the remaining two. After this it is a case of hammering the flats as needed to form a hexagon that is a good fit to the spanner. Again, any unevenness on the top of the head can be corrected by returning to the bolster plate and using the set hammer on top.
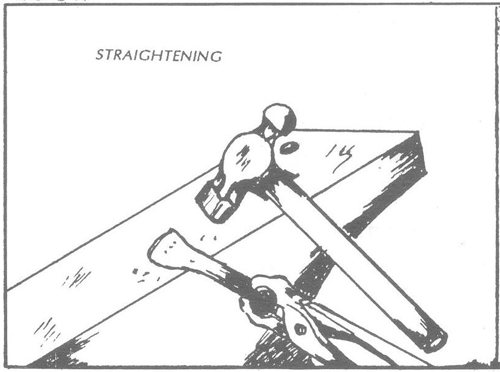
After forging the heads, the shanks must be straightened and made the correct size for threading. This can be done with top and bottom swage and use of a rasp or file while the job is hot. Shanks must be a neat fit into the appropriate hole in the gauge (Fig. 65), which is easily made. With practice this job can be carried out very quickly.
Countersunk bolts can be made in a similar manner using suitably made bolster plates. Some practice will be needed in order to judge the amount of upset needed in various cases. Where bolts with special types of countersunk heads are required, a bolster plate can be made by quickly driving a bolt of the desired form into a suitable hole while the plate is at near-white heat. This should be done using a set hammer or flatter to form the shape before the bolt being used gets hot and becomes distorted. When the bolster plate cools, upset metal hammered into these forms will take on the shape of the bolster.